Overview:
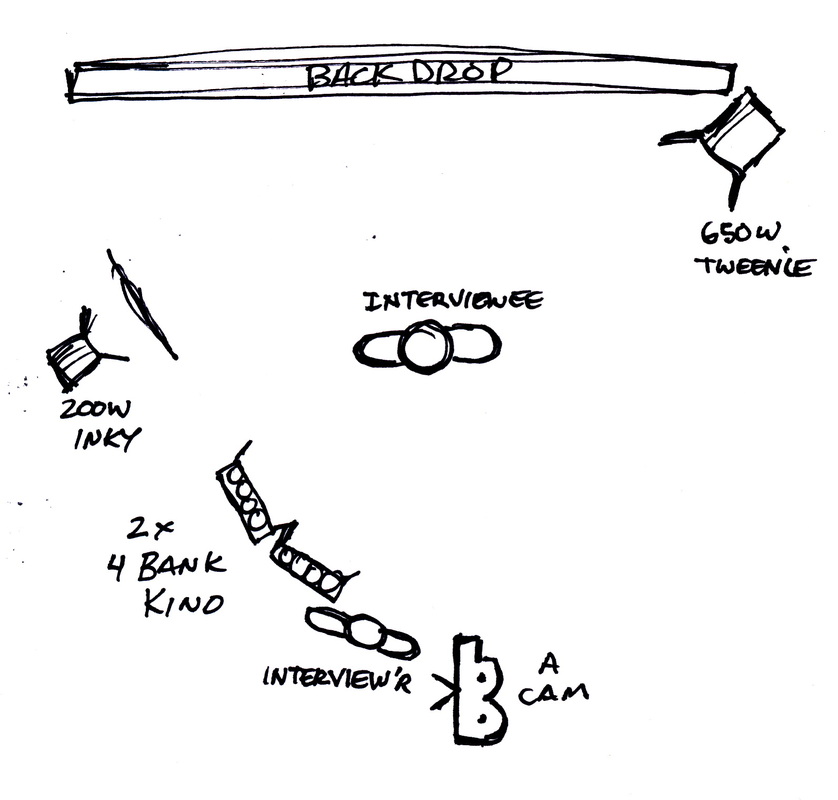
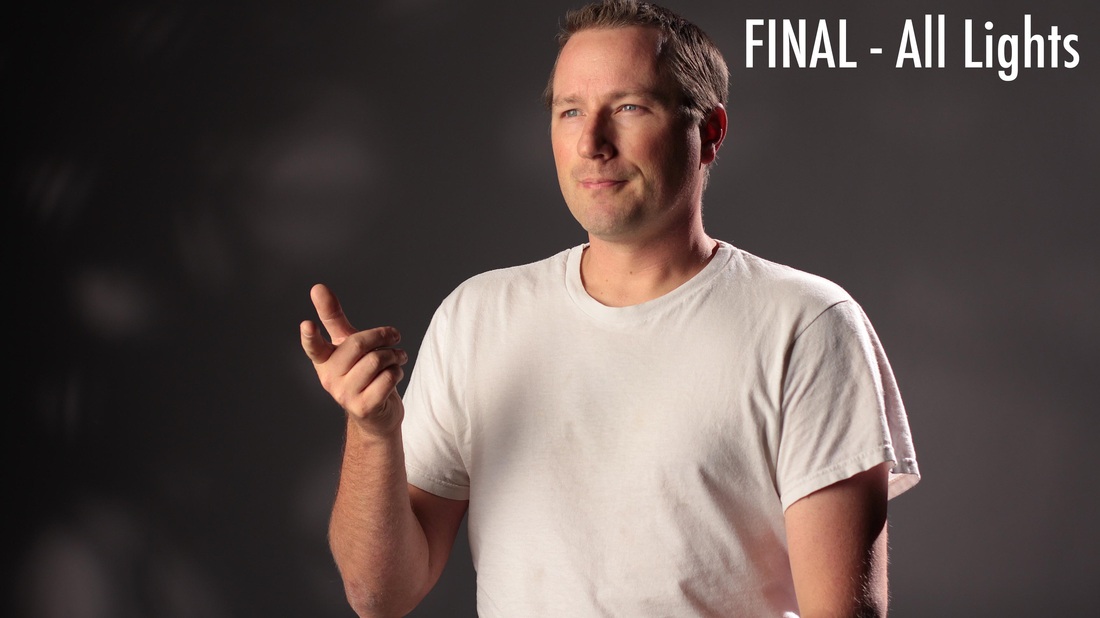
Here is a top down view of the overall lighting set up. You can see I used four lights, one cookie(or cuculoris) and one camera. The interviewer sits just left of the camera so the interviewee is not looking directly into the camera. This is best for most documentaries, unless you want to directly address your audience in the way that D-Trump did. For this interview I used my 650 watt Tweenie for the backlight, a 200 watt Inky and a cookie for the pattern on the backdrop and (2) 4 foot, 4 bank tungsten balanced kinos. The Kinos are my key light. In this set up I have not fill light to the right of the camera, which is a personal style choice. In my opinion it gives a bit more of a 'hard' modern look....the fill light would soften it up in my humble opinion so it's out!
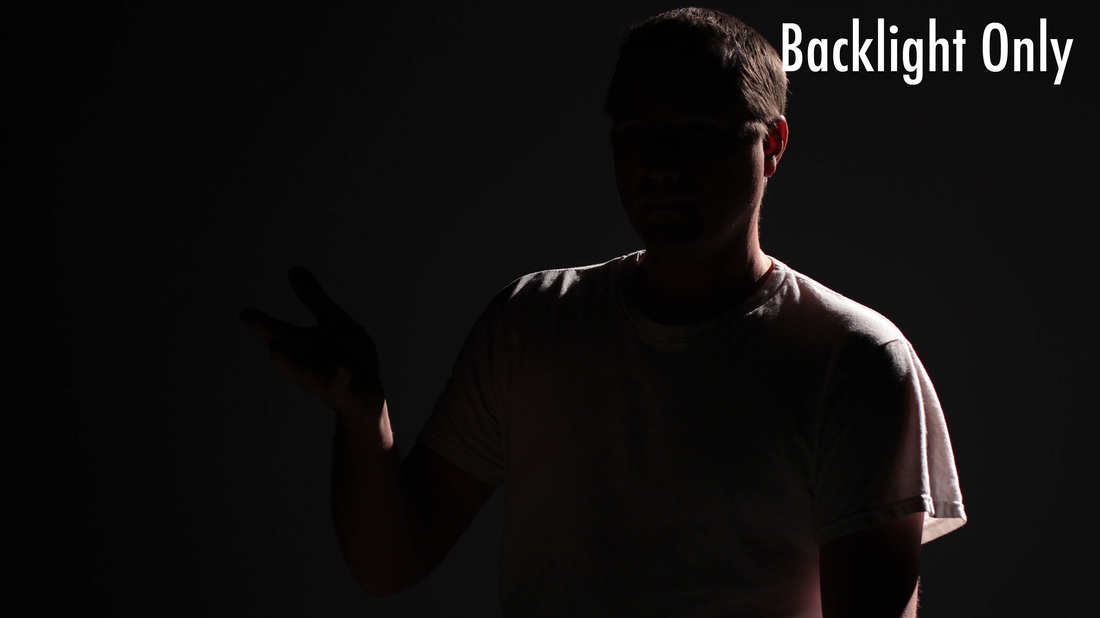
Before I get into the backlight, one thing I like to work hard to do is control the light. My little studio is essentially light proof, no light gets in with out me knowing about it. That way i can control the amount of light and the color temperature so that it looks the same in every take (even if the interview took all day or night to shoot). Ok, so...the backlight. Pretty simple. I used a 650 watt tungsten balanced Mole Richardson Tweenie set up high and in the back corner opposite the key light (we'll get into the in a minute). I didn't use a dimmer, so this puppy is full blast. No scrims or diffusion either. You could use them if you wanted to. I like to set my back light first, some people like to set the key light first. It is just a matter of preference. Enough of my yammering....take a look at the picture below, it will show you what the light set up should look like.
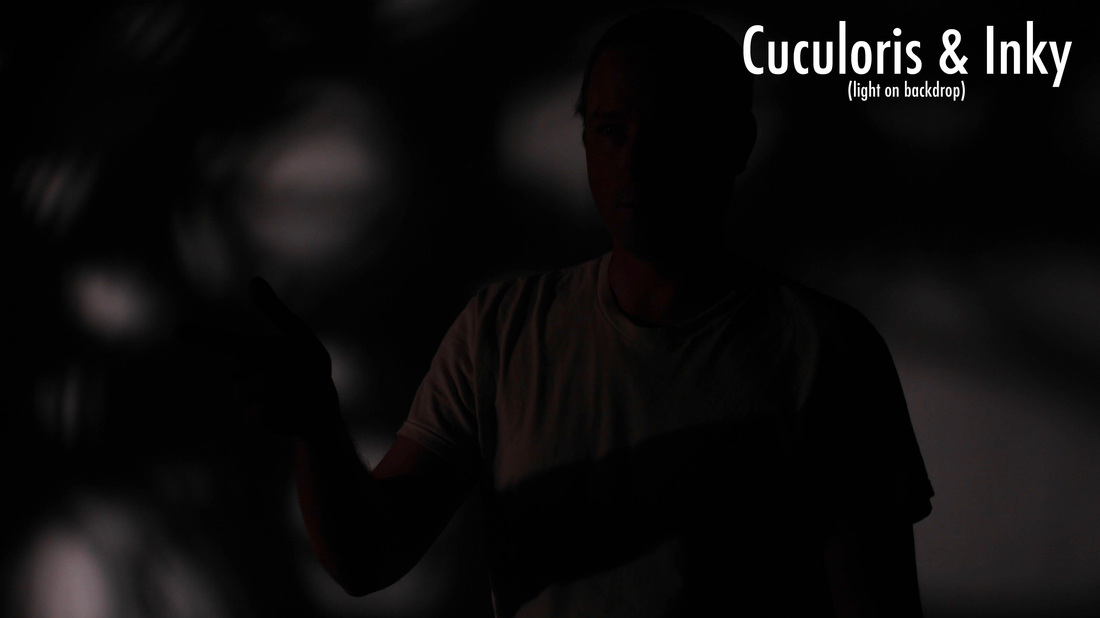
Next I set up my little Inky. It's a small 200 watt Mole Richardson tungsten light with a fresnel lens. I LOVE this light, I can put this little bad boy anywhere! It's small, lite and can throw a beam pretty far. I set this little guy on a stand at about chest height and set up my cookie in front of it on a C-Stand also. There is no gel or diffusion on the front of the Inky, just bare bulb and the fresnel lens. I messed with the focus of the light until I was happy. See below:
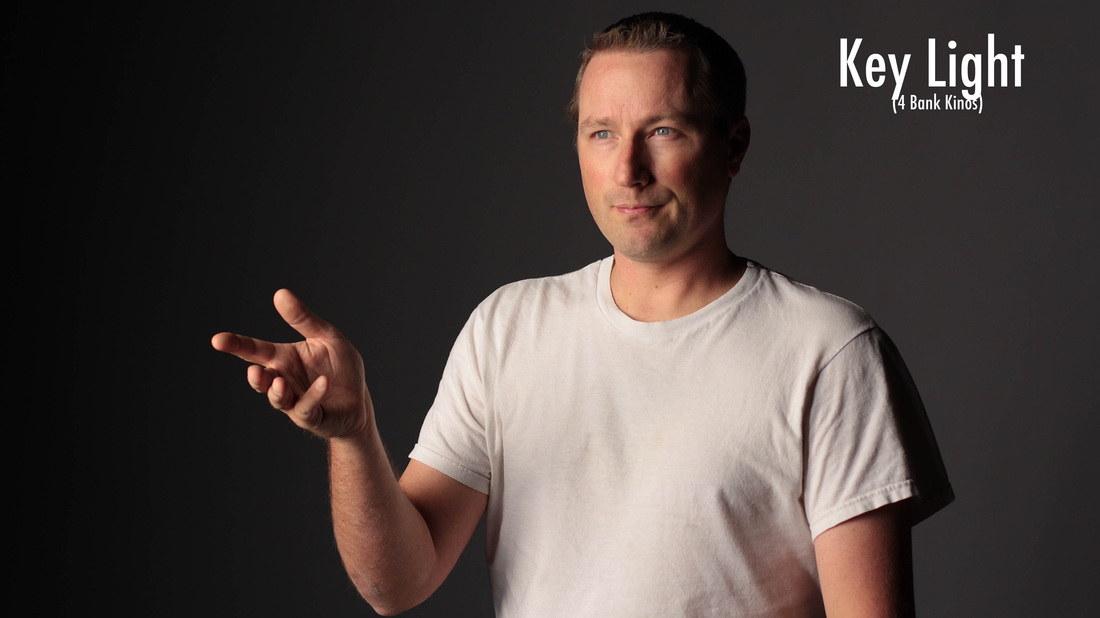
As you can see from the picture below, the key light is a pretty darn important light. It's position is pretty important too and informs the emotion of the interview. Usually, the key light is pretty close to where the camera is located, in this instance, I moved it over about 5 feet from the camera. My intent is to see more of the side of the head of the interviewee while his face is pointed more into the light during the interview. It is almost a 3/4 view of the interviewee, which I like. Kino's kick butt and you could light the interview with just these, I mean, heck, it looks pretty good - if I do say so myself ;) .
Boom, that's it. Once you have all of your lights set, turn 'em on and set your interviewee down. Get your final camera framing and set your focus. That is also where the Trump video failed. FOCUS. The video was a little soft. Hey Trumpster, for your next video, dump your current Trump video chump and give me a call. I'll do it for free (provided you pay my airfare to the big apple).
 RSS Feed
