I've always enjoyed the craft of making things myself, DIY as it has been called: "Do It Yerself". The term 'DIY' is soooo mid 90's though, these days creative crafty people are called "Makers". Makers unite! While making may not always be fun (frustration sets in when things don't go as planned) , it certainly can be rewarding especially knowing that you have created something unique that no one else has, thus avoiding those awkward moments at the prom and hiding in the bathroom. Well, we are not taking a trip back in time to the prom, but I do want to attempt to inspire you to make something new out of something old or just create something that is unique to you and is hopefully useful too.
I wanted to make a usefully cool camera strap that didn't advertise the name of my camera on it. I looked on line to find unique camera straps, but most of them are too expensive, even the vintage retro ones (especially those!). The following camera strap that I made cost me $3 and my time.
I wanted to make a usefully cool camera strap that didn't advertise the name of my camera on it. I looked on line to find unique camera straps, but most of them are too expensive, even the vintage retro ones (especially those!). The following camera strap that I made cost me $3 and my time.
Step one: Locate your strap 'base'. I found a thick but soft canvas belt at a thrift store that would work. I liked the olive color and it was comfy around my neck. Some other cool items that I saw where studded belts and retro neckties.
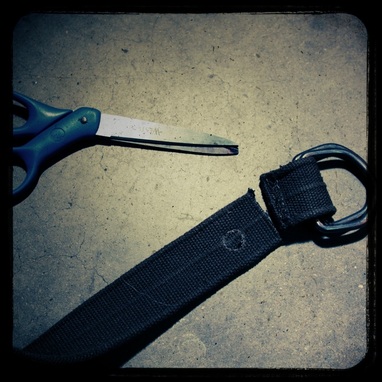
Step two: Lose the metal….I cut the janky "belt buckle" off and decided to make some holes for eyelets that my camera straps would go through.
Step two: Lose the metal….I cut the janky "belt buckle" off and decided to make some holes for eyelets that my camera straps would go through.
Step three: Add eyelets….this was actually a style choice for me. I could have just as easily sewed the camera straps to the former belt. I had the eyelet kit from a previous job making a tarp. I picked it up at harbor freight tools for $7.
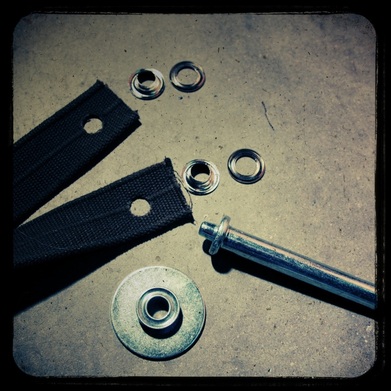
The two piece eyelets and the stamp tool.
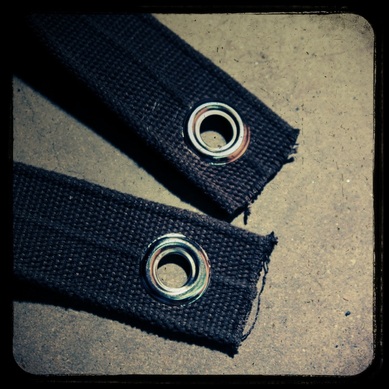
Eyelets in place.
Step four: I cut some old nylon camera straps from a old camcorder strap that I had lying around. You may need to find some narrow nylon straps at a fabric store or get an old hi8 camcorder strap from the thrift store.
Step five: You can sew by hand or use your moms machine, but you will need to stitch up the ends of the old belt so they don't fray too much…you may want a little fray to add to the worn look of the strap.
Step six: Loop the nylon camera straps through the eyelets and sew them with a machine really well. Test out the strength of the straps by tying them to your kids ankles and swing them around the room a bit. Then you know for sure that they will safely hold your camera.
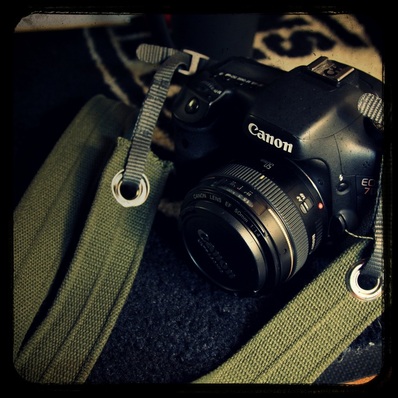
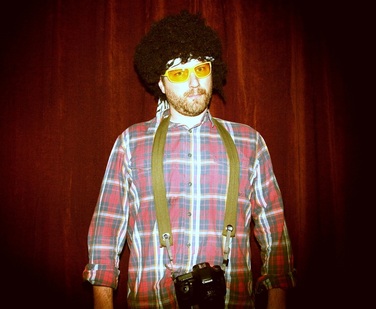
Your done! Now Joe Blow on the street wont be able to stroll up to you and read your strap and flex knowledge: "Awh…I see you have a Canon, is that the AE-1?". Now you can put them to the test and sort the wanna-be's from the true photogs.
Hey Maker! Pat yourself on the back!
Hey Maker! Pat yourself on the back!
 RSS Feed
